Thursday, February 27, 2014

Winter Retreat

      I am recovering from being on a wonderful quilt retreat last weekend. Quilt retreat is always one of my favorite things.

    I did a little class to teach the other ladies how to make this quilt:


     To help me write the instructions, I remade the quilt, but I wanted to try a different colorway. I thought it would be nice for people to see a low contrast version, as well as a high contrast version. Many thanks to my friend, and fabulous long arm quilter, Regina Carter for her great input on how to improve these instructions.


      It was so much fun to see the other colorways they came
up with. 


     Don't you just love the variety!? It was so nice to see these come together over the course of the weekend. It is pretty rare for me to come up with a design that can be done this quickly. I will have more photos from beautiful quilts I saw at retreat in the next blog post. Hope your weekend was wonderful too. Thanks for stopping by!

Monday, February 17, 2014

The Laced Star Block


      I found the Laced Star block in this book, which I have had for many many years.


     There are no rotary cutting directions or measurements in these older quilt books, but there is a wealth of block inspiration! Not really sure how you would cut these pieces without templates anyway.


     You will need a piece of paper that is at least as large as the finished size of the block. Since I was making a 12" block I used freezer paper, which came in handy later.

     First, I drew a 12" square on my freezer paper, then I bisected that square with 2 diagonal lines that run from corner to corner. Next I bisected the square again with 2 straight lines that run across the center of the square. All of these lines should cross in the center of the square.


     Next, draw a line from the lower left hand corner to where the center line meets the right hand side of your square. Give your square a quarter turn, and repeat. Repeat until each corner has a line running from the corner to where the center line meets the side that is to the right of that corner.


     Next, draw a line from where the center line meets the side, to the low point, where lines intersect to the right. Do this all the way around each side of your block.


     Here is a photo with the extra lines cleaned off, Hopefully, this makes it clearer for you, what the pieces are.

     Now you can do one of 2 things. I have a 2nd rotary cutter with an older blade that I use for cutting paper. First, cut this in quarters along the corner to corner diagonal lines.
 

      You can see that I have added numbers and arrows to these pieces. Those of you who like to paper piece can use the numbers to paper piece these 4 quadrants, and sew the quadrants to each other. Remember, there are no seam allowances on that drawing so your fabric pieces will have to exceed the triangle by 1/4" all the way around. 

     A second option, and what I did, was to cut the pieces apart. I added the arrows to help me to know how to orient the triangles once they were cut apart.
 
     
       Then I ironed each piece on to Fabric, using a ruler to add in trhe seam allowance as I was cutting.


      Once I cut all of the pieces out, it was just a matter of sewing them together, first in quarters, the sew the quarters to each other.


     I took a bit of liberty with my fabric placement, just for something a bit different. I hope this helps you make a Laced Star!

Monday, February 10, 2014

A Group Project

    I am a member of a sewing friendship group that meets a couple of times a month. We decided to work on something together this year. We discussed doing  a round robin, but finally decided on an idea we got from the NYC Metro Mod Quilters Blog(see my blog roll on the lower left side of this blog-you may need to scroll down a bit). 

     There are only 6 of us; we didn't want anyone to feel rushed, so we are spending 2 months  on each person, and making each person (2) 12" blocks each. Our first recipient, or "Queen Bee", as they say, was Mary. She furnished the background fabric, some Kaffe prints, and some bright plaids. We could add prints of our own, as long as we used her background choice. Most of us didn't have any bright plaids, so it was lucky that she had plenty. We were each asked to make her a 12" block with a star, and a 12" block that reminded us of something from our friendship with her. 

     We celebrate our birthdays together, and always try to get the "birthday girl" whatever quilty things she has been dreaming of. Last year, I was thinking about making a Dresden Plate quilt, and it was Mary who gave me this Nancy Zieman Dresden Plate, Trace and Create Quilt template set from Clover. I thought it would be appropriate to use it to make a block for her that is supposed to represent a memory that I have of her. By the way, I will be starting that Dresden Plate quilt soon; but that's beside the point. So, one of my blocks for Mary was a Dresden plate fan. 

     The other is called a "Laced Star".


      I still need to hand stitch the center of the Dresden Plate. 

     Next post, I will explain how I drafted, and made that Laced Star.

      I finished this quilt, made a back for it and gave it to Regina Carter, my fabulous long arm quilter.


     I have also finished the center of this quilt. I am currently working on getting the pieced border together.


      See what other quilters are up to today at http://www.patchworktimes.com/2014/02/10/design-wall-monday-february-10-2014/

     Thanks for stopping by!


Monday, January 27, 2014

Some Progress

     Both of the quilts I have been working on have grown large enough that I needed to move them downstairs to the larger design wall behind the loom. I am using these 2 quilts as leaders and enders for each other.


     This one is going to be a lap quilt. I am planning to keep going around until it is 6 feet long.
    
     
     This quilt just needs a couple of rows added to three of the quadrants. Then the center will be finished. I have some pretty elaborate pieced borders planned for this one. 

     I am hoping to get both centers finished this evening while I watch Quiltcam with Bonnie Hunter tonight.

     After that I will head over to http://www.patchworktimes.com/2014/01/27/design-wall-january-28-2014/  
to check out all of the other Design Wall inspiration posted there. Thanks for stopping by! 

Sunday, January 26, 2014

Keep on Keepin on

     I have done a bit of work on several projects.

     I am trying to learn how to do several new things on the computer. In the past, when I didn't know how to get it to do what I wanted it to do, I just gave up, or figured out a way to work around it. Lately, I have taken some time out from watching Netflix to watch some U Tube how to videos. I am trying to learn how to put my name and a copyright symbol on the photos I post on my blog. I am also trying to teach myself to use Microsoft Paint to draw the diagrams for my  patterns, instead of hand drawing all of them. If anyone knows of another good, easy, affordable program to use, I am open to suggestion. 

     I went to a house warming party for a friend of mine tonight, and brought a set of potholders.


    I had a great time making these, and now I have the urge to make a quilt from small, improvised blocks like these. I will resist the urge for awhile though, since I have so many other projects that are more pressing, that need to be finished.

      I found fabric for a binding, and machine stitched the binding on Kimberly's quilt this week. It is going to be a chilly week next week, and I know that I will enjoy having this on my lap while I do the hand stitching.


     I worked a bit more on this quilt.

     
     I have volunteered to teach this at our February retreat next month.

     I have also worked on this quilt, though I don't have a good current photo of my progress. It continues to grow, and the center is nearly complete.


     Under the category of getting my house more decorated, I have thought for a long time that my bed would look a lot nicer if I made pillow cases to coordinate with my quilt.


     This week I chose some fabric groupings for those pillow cases.


     Well, it's back to the sewing machine for me. I would love to get the centers of those 2 quilts that I am working on finished this weekend. Where ever you are, I hope you are staying nice and warm, and getting lots done.

Thanks for stopping by!

Monday, January 20, 2014

Design Wall Monday

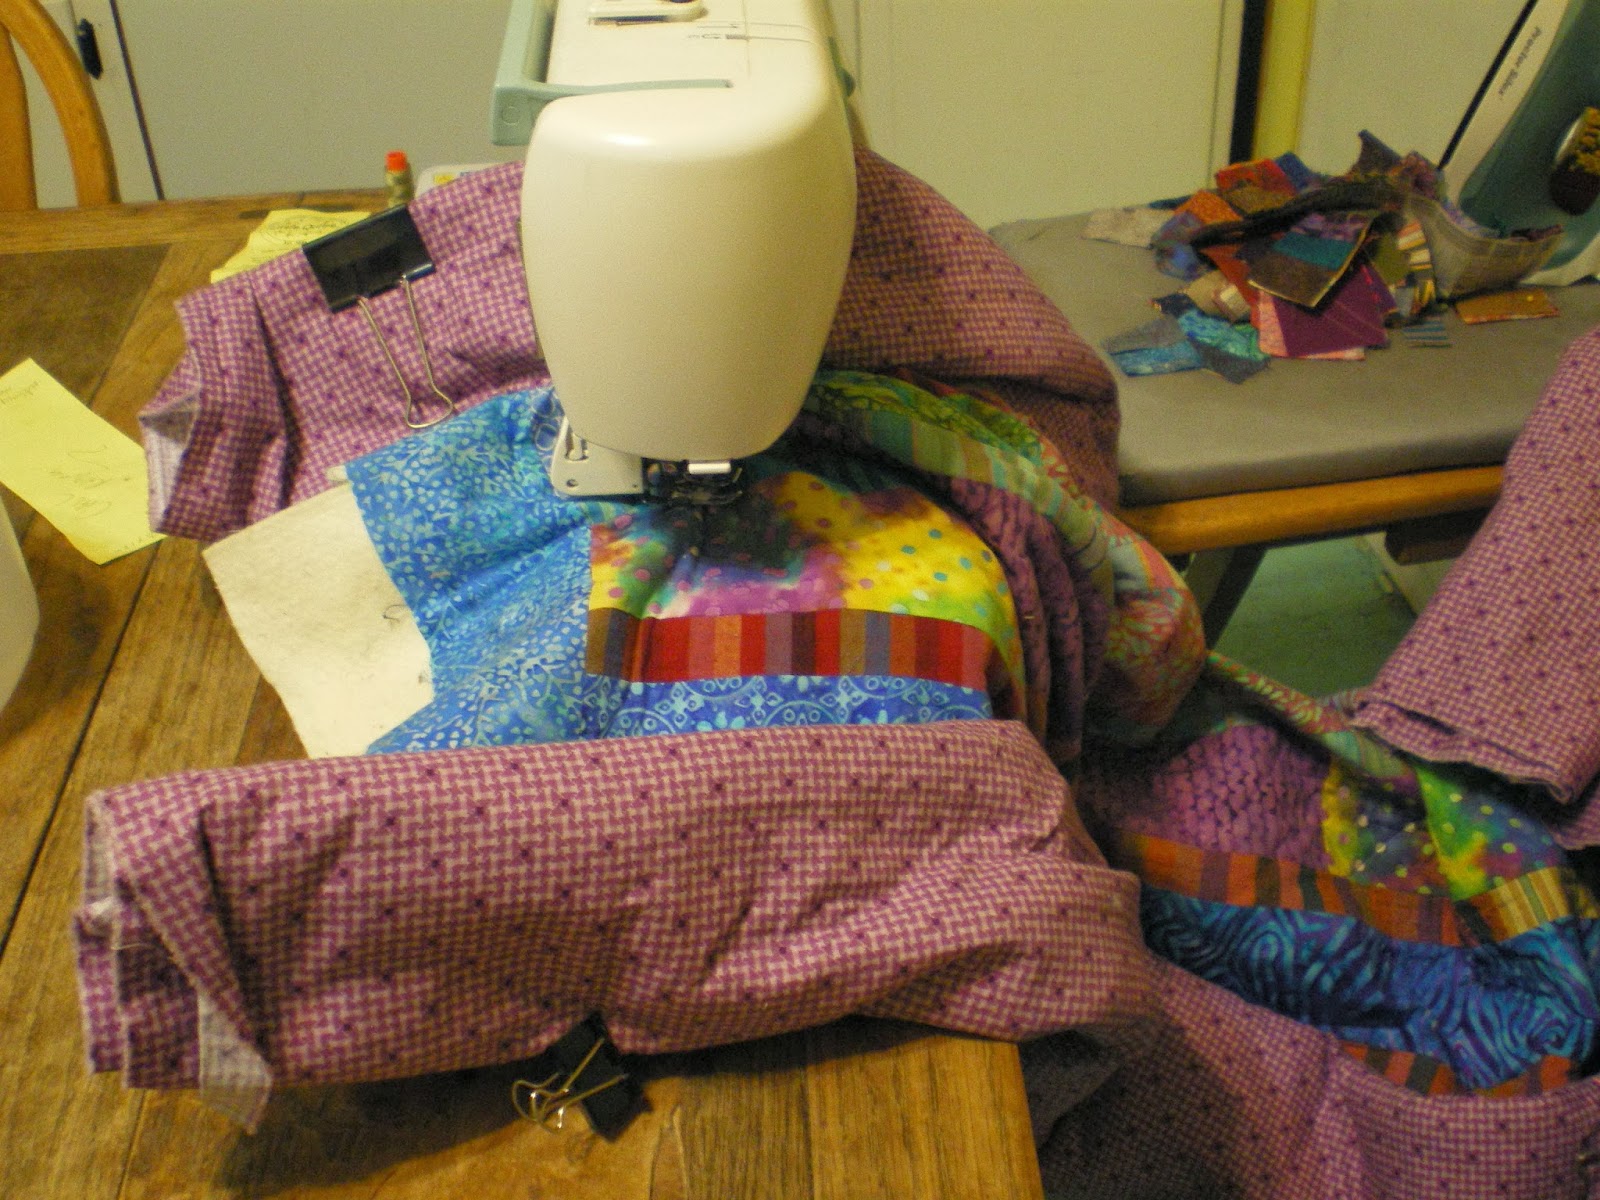
     Finally! I have finished quilting Kimberly's quilt! Now this project is on hold until I can get a light purple batik to use for binding.Hopefully, that will happen this week.


      My initial color idea for this quilt was to use all blues and greens, and try to invoke water. When I spoke to her mother though, she said her favorite colors were purple and yellow. With that in mind, I added sunset colors to my water. I would still like to do one in all blues and greens. 

     My dear friend Regina Carter has been prodding me to get a pattern done for this quilt:


     It didn't take much convincing. I had already decided that I wanted to get this pattern in time to take it to Arkansas with me this March. Regina had a good suggestion for the doing the piecing a different way, but in order to try it out, I had to start another quilt. I couldn't muster any enthusiasm for using the same colors over again. Why not try a new approach to see how that looks? Maybe this is a good opportunity to try out that blue/green idea.  So, I pulled some fabrics. I wanted to only use what I already had without making another trip to the store, or spending any money.


     I have most of the pattern written, but I would like to proof read it tomorrow, when I am feeling a bit fresher. I think that I will enjoy finishing this quilt. 

     I had a couple of outings sewing with friends this week. I needed something that was portable to carry with me. Neither was a great situation for carrying in a sewing machine. Last year, I cut a bunch of strips to make a quilt using the Economy block:
  

      I got this idea a couple of years ago when I made all of those Economy blocks for my Missing Monkeys quilt.


     This time I am planning to use this painting for a color reference. 
      
      I cut all of the strips last year, so I have been spending my time with my friends cutting those strips into squares. Next outing, I will start pinning color combinations together.

    Last, but not least, I am still working on this quilt:


      It doesn't look like I made much progress, but I got several strip sets put together for it.
 
      I am planning to link up to patchworktimes.com for Design Wall Monday, where you can see what many quilters are working on. It's loads of fun, and will surely brighten your day. Check it out! Thanks for stopping by!

Friday, January 10, 2014

Getting 2014 Started

     I hope your year is off to a good start. I have started out by working on things that I have been putting off for awhile now. (or maybe longer)

     Most of my fabric is sorted and arrange on the new shelves. My sewing room still feels like a crowded mess because the old dressers are still here. I have a call in to a friend who will come by soon to see if she can use them. I hope to get them gone within the next week or so.

     I have continued to quilt Kimberly's quilt. I have only 2 rows and the border left, but now I am contemplating going back and adding more quilting to the wider bands.


     I moved into this house in March of 2010. When I did, I was so tired of all of the packing, unpacking, and everything else you have to do to move, that I never really "decorated" this house. I unpacked, but there were a few rooms that I wanted to change the wall color of. Since I knew I wanted to paint, I never hung any pictures. One big obstacle has always been that I would rather be piecing something. Now it has been almost 4 YEARS! Ridiculous! So, one of the things I decided I want to accomplish for 2014, is to get that started. There are SO many projects I can do around here that would cost little or no money, but would make things so much nicer around here. Project #1-paint the living room. Maybe we should call that project #2 since I did all of that fabric rearranging. (I digress) My living room was this color:


     After painting most of the day for the last 5 days, it is this color:


     With a blue sofa, you can see why the blue walls needed to go.

     I have an order for an "Arabesque" quilt.

       
     I made an initial strip set to see if the client liked this combination. This time I made my strips just a 1/2" wider so you could see the fabrics a bit better.


     She did so I have been working on more strip sets in the evenings, after painting.


     So that is what I have been up to lately, hope your 2014 is off to a good start. Thanks for stopping by!