Here is how I am making this quilt.
As I said before, I am working from this drawing.
You can see the creases in the above photo. First I fold the photo on the row I am about to make.
I choose the fabrics you want to use on that row. Each square on this drawing represents one inch. I use this to figure out how wide each strip should be. I just count the number of squares, and add 1/2" for seam allowance. For example: see the gold color? They are 3 squares across. So I cut a 3 1/2" strip of that color fabric. The next color is 2 squares across, so I will cut a 2 1/2" strip of that fabric, and so on. I am cutting each strip 16".
You may have noticed that the colors in the photo are a bit different that the colors in the quilt. These things usually evolve as you work on them.
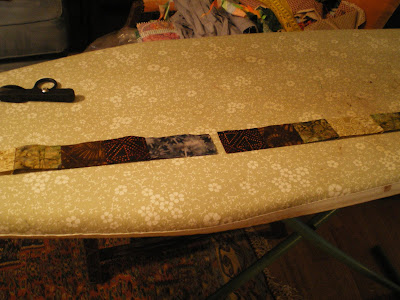
This is a photo of the next strip set. I forgot to take a photo of this, but I used painters tape with numbers written on it to help me keep these strips in the proper order.
I will make 1 1/2" cross cuts on this strip set. My quilt has 4 repeats across. I am cutting 10 pieces from each strip set. I am sewing 5 of them end to end. 1 more than the number of repeats. Then sewing the remaining 5 from end to end. I do 5 instead of 4 because you need some extra to make sure you can end it where you need it to end.
That statement will make more sense if you ever try this technique. Since this quilt is a mirror image, I am making 2 copies of each row. One for each end of the quilt.
Here is a photo of a row laid out next to the quilt where it will be attached.
Here is a photo of the 2 new rows attached to the quilt.
I could keep adding to this central piece, but I think I will not attach the next 2 rows, but use them to start another panel. That way I will not be lugging the entire quilt around the whole time. I will show you what I mean in a later post.
I hope this inspires you to give it a try. I think it is really fun.
Thanks for stopping by!


No comments:
Post a Comment